Monday, June 20, 2011

Appliqued Flower Tee

I stumbled across a cute idea from the ladies at Marie-Madeline Studio to make an adorable tee with a funky flower on the front. This business sells beautiful, quality fabrics as well as hand made items. They have a list of different tutorials on their blog and this particular project is called "Put A Flower On Your Tee."  You can see it at http://www.mariemadelinestudio.com/.
 It reminded me of something one would see in a catalog such as Mini Boden or sold at a children's clothing boutique. It seemed simple enough, so I decided to give it a try. 
They walk you through it with lots of pictures and step by step instructions along the way. I was able to put this together in an evening and was surprised at how quick it was, even with the all of that hand stitching.
I did everything mostly as they did, except for also embroidering around the center. I decided to add some little dabs of fray block around the raw edges of the flower. I would reccomend washing this on gentle cycle and air drying flat.
Here is a picture of the flower I made when it was half finished:
Here is the completed project......

...and a close up of the actual flower, to give an idea of what it looks like.
This was for Emma, of course, and she absolutely loves it! I made her a matching skirt to wear with it, and will be writing a post about that soon, along with some pictures of Emma modeling her new outfit! I am inspired to try some more applique designs on her other plain shirts. The possibilities are endless!

Monday, May 30, 2011

Inchworm Cake

We kept Ethan's recent 2nd birthday very simple this year...but I couldn't resist making this adorable cake for him:


You can see the recipe and directions here: www.bettycrocker.com/recipes/inchworm-cake/2a3e4b7b-09ba-42de-b621-06e453e21795 . The video link is helpful also.


I was happy with how it turned out and Ethan loved it! I would make this again.


Thursday, May 26, 2011

Two


How is it possible that our baby boy is turning two years old today?
It seems like just yesterday that this screaming bundle
of joy was placed in our arms...

I can still remember that magical moment when we introduced Ethan Jacob to his older brother and sister. It was love at first sight! 

They were so excited when we got to bring him home. 
2009 was a big year for us as we went from two children to three...all age four and under. It was an adjustment, but it really has been great all around!

2010 came and went in a flash. Life became that much busier once Ethan was fully mobile and walking quickly progressed to running...
And now it is 2011 and Ethan is not so little anymore! He is now TWO years old, a  ball of energy and giggles with a huge, dimpled grin...an active toddler who loves macaroni and cheese and Bob the Builder. He brings sunshine to even the stormiest of days. It is hard to remember life without him in it.


Happy Birthday, Ethan! We all love you so much.


Sunday, May 1, 2011

Future Baker of America...

Emma has inherited my "baking gene", that's for sure. She is always finding pictures of things in cooking magazines and books that she wants to try. Here she is, proudly posing with a big loaf of Challah bread that she helped to make recently, fresh from the oven.

We used a recipe from www.tammysrecipes.com and were surprised at how easy it was to make. Challah is a light, slightly sweet bread. It goes well with just about anything and the leftovers  make great french toast, too!
I opted for doing the more complicated, six strand braid. Emma liked how it looked "fancier" than the regular three strand version. It is a bit tricky at first, but once you get used to the pattern, it gets to be automatic. There are several good challah braiding video tutorials on You Tube that were helpful.
One batch yielded two huge loaves, but I'm sure it will all be gone within a few days!

Monday, April 18, 2011

Artsy

Mounds of shaving cream and some paint


resulted in a fun activity that kept the children busy for awhile. They loved dribbling paint on the shaving cream and then swirling the paint around to make interesting designs however they wished.
When they were done, we pressed sheets of paper down over the top. When lifted off, the painted design stayed on, and the shaving cream dried clear!
It looks like very neat abstract art.

We will be definitely doing this again. It is messy, but something fun for little hands that need to be kept busy on a rainy day!


Tuesday, April 12, 2011

More Family Fun


More pictures from our adventure. As usual, I am not in any of them as I am generally the one behind the camera. :)

Thursday, April 7, 2011

Spring Break Adventure

We just returned from the Wisconsin Dells! Kevin managed to actually get a few days off from work by some wonderful miracle, and Isaac was about to begin his week of spring break, so it was the perfect time to hit the road for a family trip! 

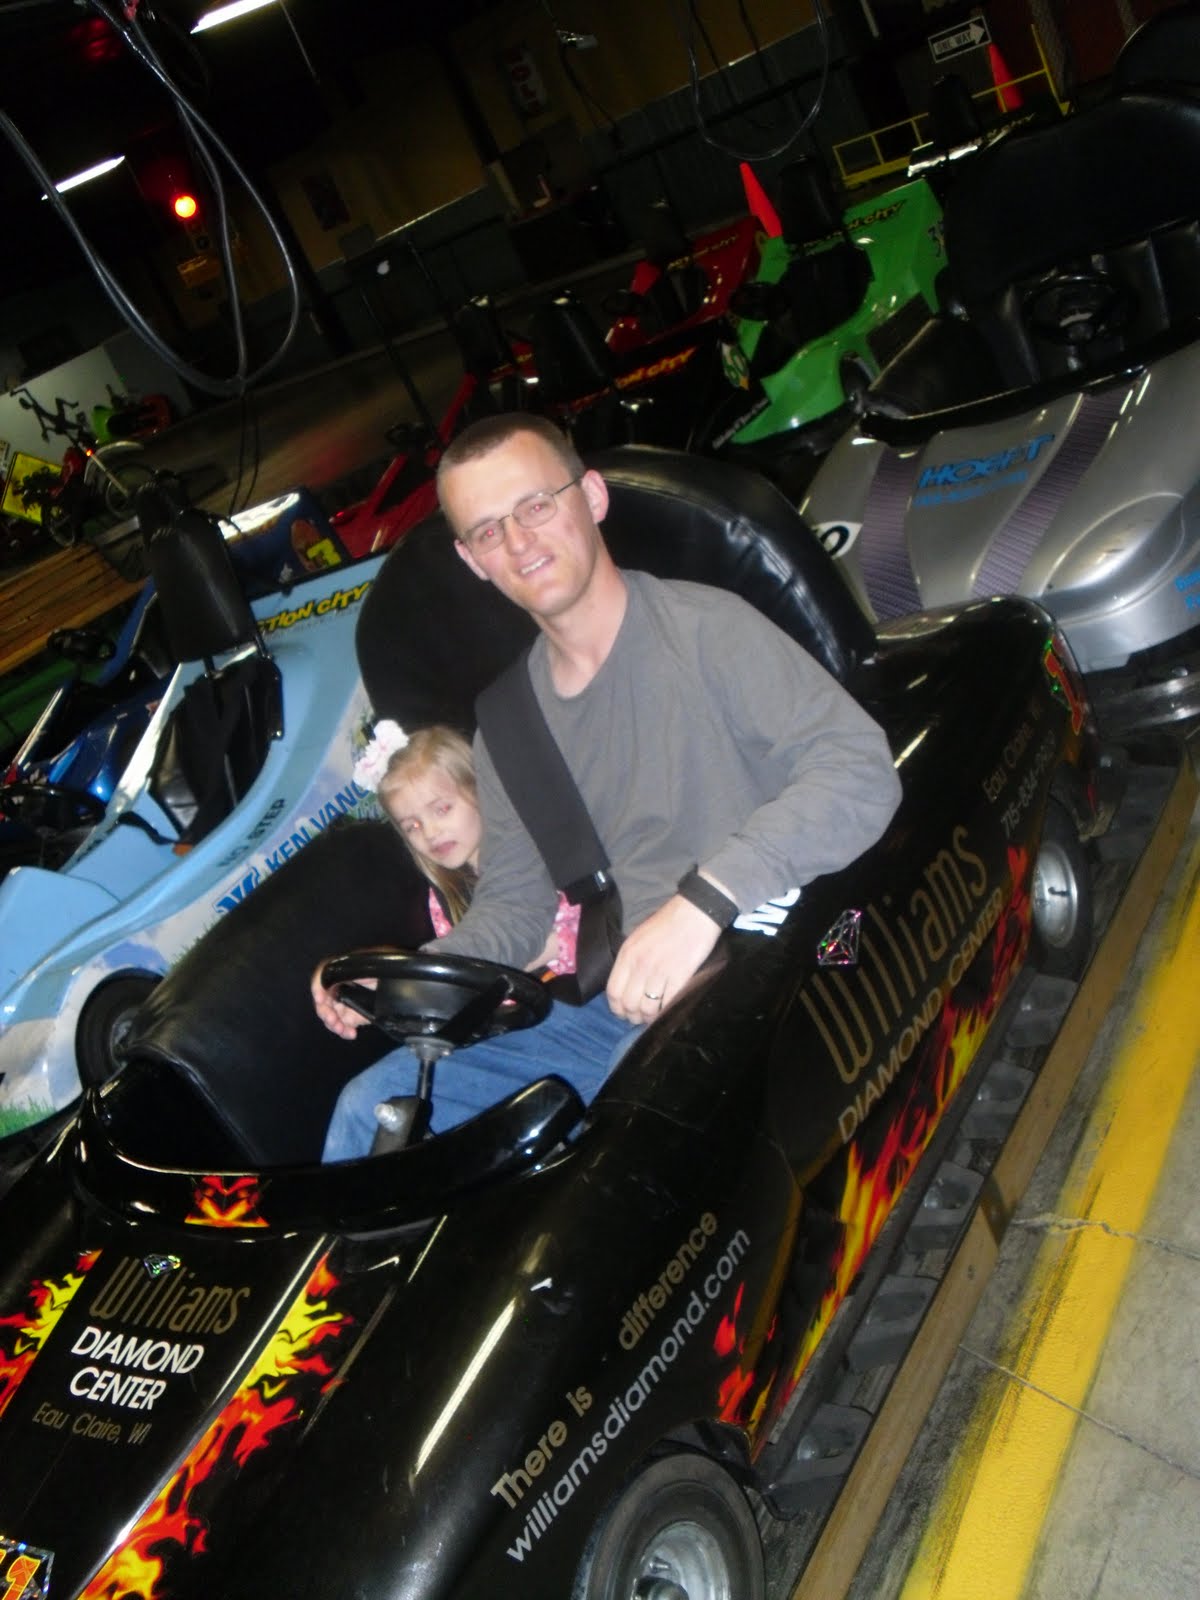
Excited trio posing by the car
It was the first opportunity we had to travel there. It was a good time of year, as we were able to snag a couple of nights at a very nice resort at a reduced rate. This particular resort would have been much more expensive and way  beyond our reach during peak tourism season! We got most everything ready the night before departure, then surprising ourselves, made our goal of setting out before 6 AM! We carried the kids out to the car still in their snugly pajamas, and brought along their favorite blankets so they could go back to sleep once we were officially on the way. Because of getting an early start, we were able to take our time. We stopped halfway there to change the kids into their everyday clothes and  have lunch at Culver's (of course--it's Wisconsin, after all!).
 The room we had to stay in was ideal...cozy fireplace, two bedrooms and even a completely furnished kitchenette so we could fix our own meals with groceries  brought from home.Not having to eat out for every meal saved us alot of money, and made it easier to incorporate some healthy foods into our diet.
The older kids had a blast at the massive water parks.They were very brave and adventurous and tried every slide they were old enough for! Would you believe that I did not get to snap one picture of them in the water?!? That was due to the fact that Ethan was terrified of the HUGE bucket that would dump out gallons and gallons of water from the air at regular intervals. To a little guy such as he, it was quite scary! He did wade a bit in the shallow end and splashed about for awhile, but otherwise clung to me like glue the whole time. That was okay, though, since I am not much of a water person--and did not relish the thought of climbing all those stairs and having to wait in line forever to go down one slide.
 With Kevin having to keep tabs on the others, and Ethan permanently on my hip, neither of us had a spare moment to whip out the camera during that time, unfortunately.

It was drizzly and cold when we were there, so we did not get a chance to explore much outside of the resort on foot, but did see many interesting things from the car window. It was overwhelming to see the many hotels, shops, and restaurants all compressed into a small area. It was confusing navigating around, this being our first time there and completely unfamiliar with the layout. We had a hard time locating a decent map! Many of the local attractions seemed to be tourist traps, so we steered clear of those for the most part.
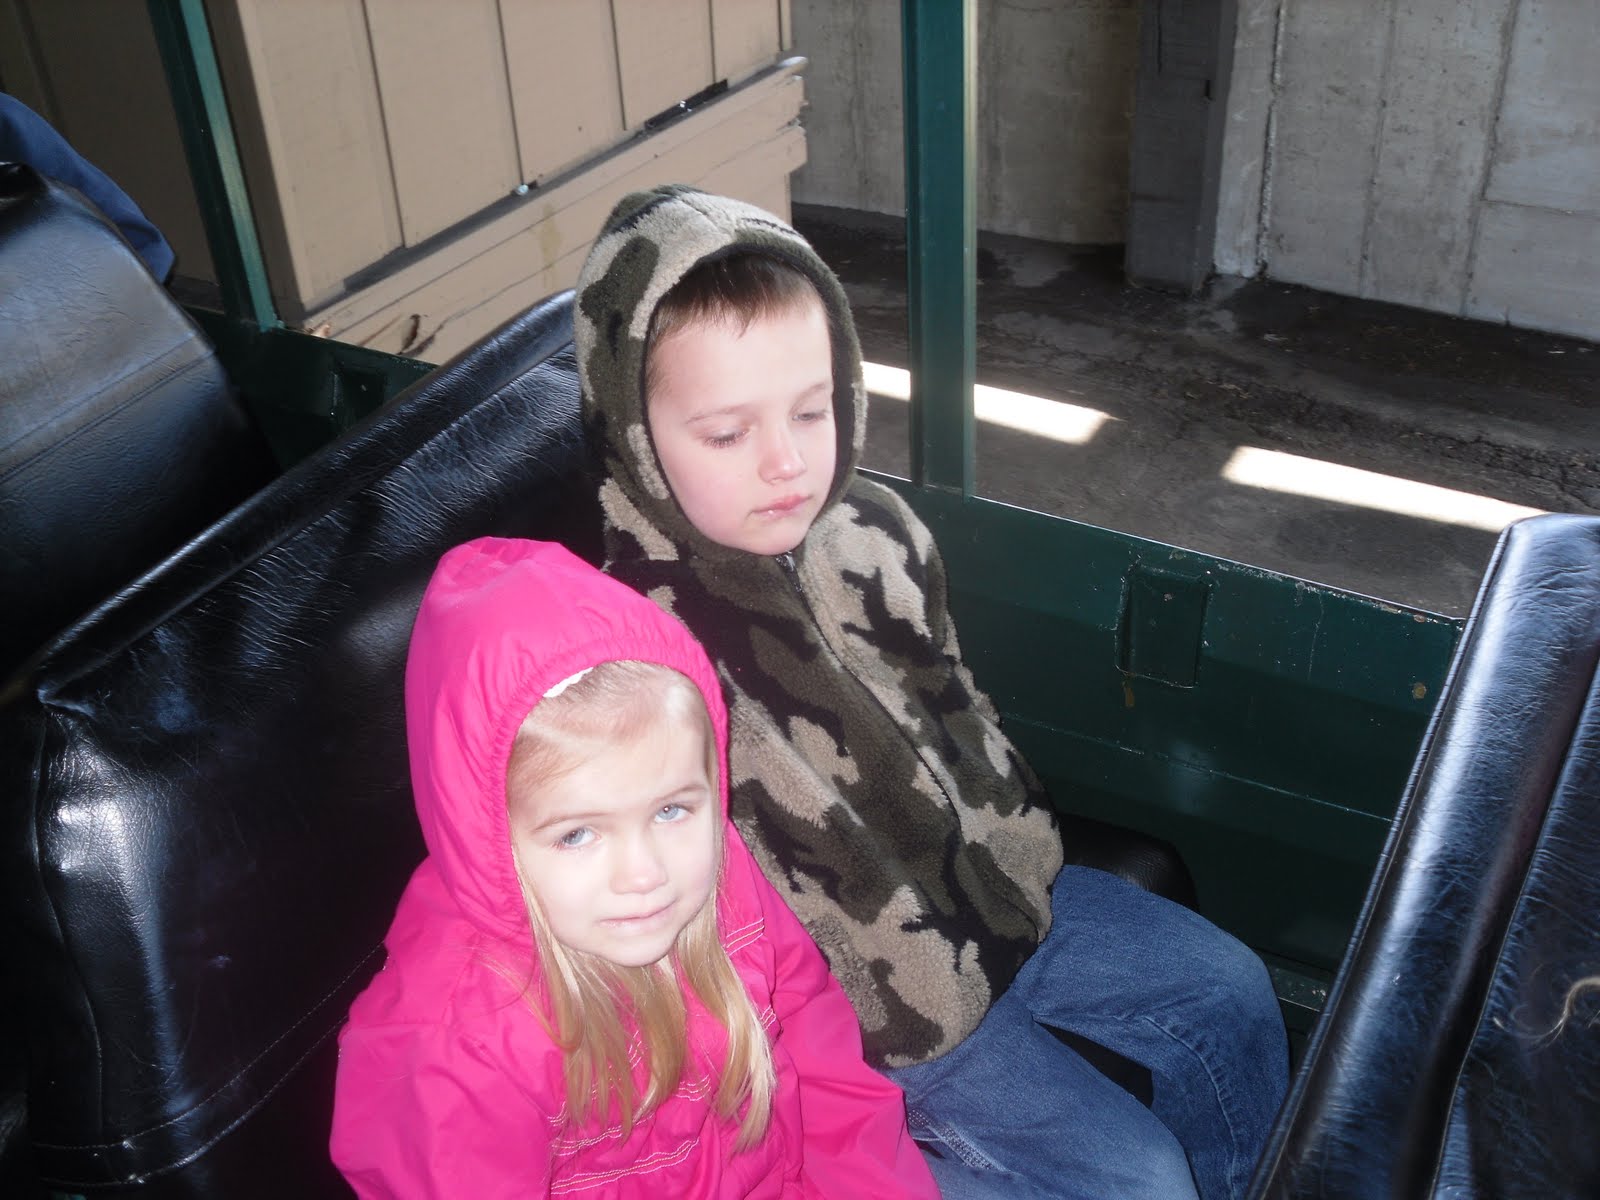
On our way out, Kevin wanted to take the children on the famous Duck boat ride. It is a very neat tour of the area, partly on land following trails through the woods, partly in water beneath the amazing rock formations. Even though it was very windy, they enjoyed it, though they are obviously hiding their enthusiasm in the photo below!

Here is a peek at the rocks:

 It is a very beautiful part of the country, when you stop and see the pure, unspoiled natural aspect--apart from all the tourism hype. I would love to go back sometime, just to explore the out of doors more.
The kids were real troopers. All things considered, traveling with three young children is no easy feat, and to expect it to go perfectly would be unrealistic. You can plan and organize and have an idea of how you want things to go, but anyone that is a parent for very long knows that something unexpected is bound to  happen. Looking back over our past traveling, there has not been one trip since having our first child 6 years ago that has not included either vomit or a diaper explosion--or both. Really.
And this trip was no different. We were not far down the road on our trip out when one of our little ones (who will remain nameless!) was car sick all over the back seat. 
Yuck.
 But you know what? That's life with young children! You just have to roll with it, then move on. You can't let it get you down. Someday I know we will look back on those kinds of things and laugh! :) Children make life interesting and fun, even in those not-so-pleasant-I'd-rather-not-have-to-deal-with-this-now short term frustrations!
All in all, it was good trip, a fun mini vacation. A chance to get away and spend time together. It wasn't necessarily relaxing...but it was fun and welcome break after a long, cold winter.
But it is good to be home. Now it is time to unpack all of our junk, or I should say "gear",  and then tackle all this laundry that has built up.
I will have the weekend to get things back in order, at least. And then home school resumes again on Monday..it's back to regularly scheduled programming for us!

Wednesday, March 30, 2011

Cherry Crisp

1 can (21 oz.) cherry pie filling
3/4 cup all purpose flour
3/4 cup rolled oats
1/3 cup flaked coconut
2/3 cup packed brown sugar
3/4 teaspoon ground cinnamon
1/2 teaspoon ground nutmeg
1/2 cup melted butter
1/4 cup chopped nuts, optional

Preheat oven to 350. Lightly grease a 9x9" small rectangular baking dish. Pour pie filling into dish and spread evenly. In a large bowl, mix dry ingredients together. With a fork, mix in melted butter. Combine until mixture is crumbly. Sprinkle evenly ontop of pie filling. Sprinkle nuts ontop, if desired. Bake 30- 35 minutes until golden brown. Serve slightly warm with ice cream.
A yummy, simple dessert that is very easy to put together!

Tuesday, March 29, 2011

Winter is not forever

The calendar has indicated for over a week that spring is here. Today I actually believe it! We were able to venture outdoors after lunch. The weather is perfect: lots of bright sunshine and a mild breeze. The kids had so much fun today going outside. They are thrilled that enough snow has melted so that they can play on their little swing set.
Isaac kept saying, "Look, we can finally see the ground again!".
Living in a cold climate makes us appreciate the warmer seasons that much more. At times, winter does seem to last an eternity. The snow keeps on coming, and everyone is sick of shoveling--and shivering. The heating bills soar, and illnesses are passed back and forth.
A little hint of despair sets in. "Will this never end?"

Then suddenly, one day it does.

 The sun feels so much stronger, the air has a softer edge to it. Bird song fills our ears. Windows may be flung open with abandon.
And spring has arrived at last, full of hopeful promise.

 I am just itching to get my hands into the fresh earth once everything completely thaws! Emma spotted the first green leaves in our perennial flower beds today.It's a tantalizing hint of what is soon to come in the next few weeks!


We are looking forward to daily walks and treks to the park, and going outside without wearing a coat! Every day the remaining snow seems to shrink back a little bit more. Before too long, we should have a completely snow free yard. And then we will just wait for it to turn green and come alive with all of our lovely dandelions!
Ethan probably does not remember playing outside in an atmosphere that does not include snow because he was so young last spring and summer. It's so cute to see him running around and experiencing the outdoors as if for the first time. He always has a fit when we have to go in!
It sounds like the rest of the week should be beautiful weather also. Spring is officially here, and we are all breathing a collective sigh of happiness!

Friday, March 25, 2011

Dressing Up

What's a tired momma to do on a cold day when her children desperately need a diversion from bickering with each other and getting into things they should not?
Answer: drag out the "Dress Up Box"! Before long, creative costumes are quickly put together and imaginative play is underway.

It's funny how odd clothing items, hats, and various other accesories can keep them happily entertained...at least for awhile.

Tuesday, March 22, 2011

When life gives you lemons....

....make Lemon Glazed Scones! That is what Emma and I did together today. This was the ideal activity to do on a day that was cold and blustery. The weather outside might have been frightful, but the smell inside, emanating from our kitchen,
was delightful!
Emma checking if the lemon is fresh

Emma stirring the dry ingredients together
 Lemon Glazed Scones:
2 cups all purpose floour
1/4 cup sugar
1/8 teaspoon salt
1 1/2 teaspoon baking powder
1/2 cup cold butter, cut up
1 1/2 teaspoon finely grated lemon zest
2 teaspoons fresh lemon juice
1/2 cup heavy whipping cream
1 egg
ICING:
3/4 cup powdered sugar
1 1/2 Tablespoons fresh lemon juice
Yellow food coloring, optional

In a large bowl, whisk together flour, sugar, salt, and baking powder. Cut in cold butter with pastry blender until crumbly. In a seperate bowl, whisk together zest, juice, cream, and egg. Stir egg mixture into dry mixture just until dough begins to form. Knead a couple times until dough just starts to hold together. On a lightly floured surface, gently press dough into a large circle, about an inch thick. Use a pizza cutter and make 8 wedges. Place scones on ungreased baking sheet, not touching each other and bake at 350 for 20-25 minutes just until edges are light brown. Remove from oven and let rest on sheet for 5 minutes.
Prepare icing by mixing powdered sugar and remaining juice together in bowl. Add coloring if desired. Place scones on wire rack. Drizzle or brush icing onto warm scones.
(recipe courtesy of www.tammysrecipes.com --a great site!)
My husband gave this recipe a thumbs up! I will be sending a few scones tucked inside of his lunch box for him to enjoy tomorrow on his morning break at work.
Next time that I make these, I think I will experiment and try orange juice and zest, and maybe add some dried cranberries, too. There are alot of different combinations of flavors that would be yummy together.
The finished product


Treat time!

So good paired with a cup of hot chai tea. Ah...my one indulgence today! :) This is the perfect treat after a long day of toddler chasing, laundry, meal preparation, teaching.............especially on a night where the wind is howling around the house and we are in the middle of a March snow storm. Time to curl up with a book and relax. Good night!

Monday, March 14, 2011

Lost In Space!

Ever since we began the school year last September, Isaac has been obsessed with all things space related. We began with learning the names of the planets, and it just sort of skyrocketed from there. We have covered asteroids, black holes, the Milky Way, constellations. We have read stories about the first step onto the moon. My mother gave Isaac his very own world globe so we can now study just how the earth functions in the Solar System.And yet, there is so much more to delve into, it feels like we have barely scratched the surface. There is plenty more to learn next year, too!
Right now,Isaac seems to be especially interested in the astronaut/space mission aspect of it all.
So, I scoured the Internet for a cool, space themed birthday cake idea to surprise him with. Wouldn't you know it, the Betty Crocker test kitchen came through for me yet again! On their website I found the recipe for a Space Shuttle Birthday Cake.
It was fairly easy to make. I followed the basic recipe with some little changes of my own. For example, I could not find star shaped candies or gummy things, so I just did free hand stars with gel icing and it turned out fine. I also chose to outline the entire thing with red string licorice for more emphasis. 
Isaac loved the cake, especially the added touch of placing the candles at the back--all ready for take off! It looked so neat when we lit them (though unfortunately I did not take a picture when they actually were burning.)

Views of his cake before cutting:
Top

Side

He had a great birthday. We kept it small and meaningful, had a few family members over, and enjoyed visiting together, playing some games with the children, and eating cake and ice cream. Among Isaac's gifts, fittingly enough, he even received books about space and a large floor puzzle that shows all of the planets!
Some more pictures of his special day:

Ethan drooling over the extra cupcakes we made!
Emma enjoying her cake with gusto!
The day after...finally able to play with balloons!

Birthdays are such fun!